

Daily T 스킨 왼쪽 사이드바 수정 방법 (50px 늘려주기)
1.사이드바 가로 영역을 50px 늘려줍니다. 129px -> 179px
| #sidebarL { float:left; width:129px; overflow:hidden; background-color:#f2f2f2; } |
2.본문 가로 영역을 50px 늘려줍니다. 972px -> 1022px
| #container { width:/*@post-width:372*/972px/*@*/; margin:0px auto; } |
3.카테고리 상단 파란색 영역을 늘려줍니다. 109px -> 159px
| #category h3 { width:109px; height:21px; padding-left:10px; padding-top:4px; background-color:#1A5A8D; color:#fff; font:bold 12px 'Times New Roman', Times, Garamond, bodoni, Batang, Gungsuh, serif; } |
4.카테고리 글자 영역을 50px 늘려줍니다. 119px -> 169px
| #category ul li { line-height:20px; background-image:url(images/line_categoryL.gif); background-repeat:repeat-x; background-position:bottom; width:119px; padding-top:4px; } |
5.다음을 주석처리합니다. 왼쪽 사이드바에 배경 이미지를 없애줍니다.
| /*#container { background:url(images/bgLeft.gif) repeat-y left top; }*/ |
6.다음을 주석처리 합니다. or 간단하게 972px ->0px로 바꾸는 방법도 있습니다.
| #mainTop { width:/*@post-width:372*/972px/*@*/; /*background:url(images/layout_tl.gif) left top no-repeat; height:2px;*/ margin:0px auto; } #mainTop .inner { /*background:url(images/layout_tr.gif) right top no-repeat; height:2px;*/ font-size:2px; line-height:2px; } #mainBtm { width:/*@post-width:372*/972px/*@*/; /*background:url(images/layout_bl.gif) left top no-repeat; height:2px;*/ margin:0px auto; } #mainBtm .inner { /*background:url(images/layout_br.gif) right top no-repeat; height:2px;*/ font-size:2px; line-height:2px; } |
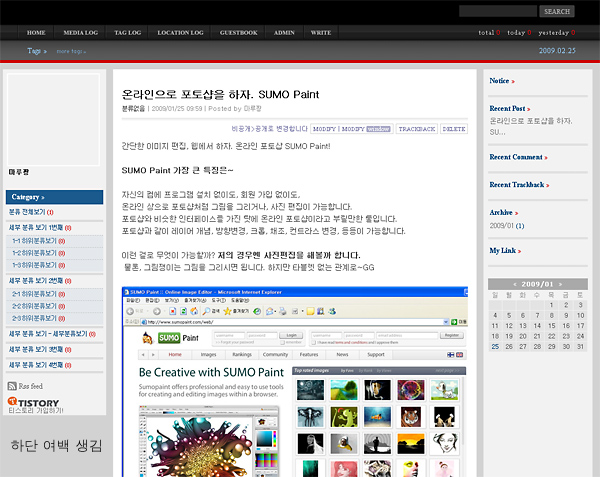
대신 위의 모습처럼 왼쪽 사이드바 하단에 여백이 생깁니다. 이게 최선입니다.
또는 왼쪽 배경이미지를 수정해서 업로드하는 방법도 있습니다.
오른쪽도 이와 같이 바꾸고 싶다면, 과정 5번에서 오른쪽 배경 이미지도 주석처리하면 됩니다.
제가 이 스킨 사이드바 변경하는 팁을 못찾아서 생고생하다가 알아냈네요.
혹시나 참고하실 분이 계셨다면 좋겠네요.
-
분류 카테고리 펼치기 (다른 스킨에서 카테고리 펼기치 하려면)
1번째 방법
<body>를 <body onload="expandTree()">로 수정합니다.
2번째 방법
<s_sidebar_element><!-- 카테고리 모듈 -->
<h3><a onclick="showHide('category')" onfocus="this.blur()">☆º DDong's World</a></h3>
<div id="category" style="display:none">
</div>
<script language="JavaScript">try{expandTree();}catch(e){}</script>삽입합니다.


